WordPress plugins extend your site’s functionality without requiring coding knowledge. Want to add contact forms, improve SEO, enhance security, or optimize performance? There’s a plugin for that.
Installing and activating plugins is one of the most fundamental WordPress skills. This guide shows you three different installation methods, explains when to use each, and provides troubleshooting tips when things go wrong.
Whether you’re installing from the WordPress directory, uploading a premium plugin, or using FTP, you’ll know exactly what to do by the end of this tutorial.
What Are WordPress Plugins?
Plugins are PHP code packages that add new features or extend existing functionality in WordPress.
Think of them as apps for your website:
- Contact Form 7 = Add contact forms
- Yoast SEO = Improve SEO
- WooCommerce = Create online store
- Nexus Pro = Advanced SEO and schema features
Current Statistics:
- 60,000+ free plugins in WordPress.org directory
- Millions of premium plugins available
- Average WordPress site runs 20-30 plugins
Before Installing Plugins
Take these precautions before adding new plugins.
Backup Your Site
Why: Plugins can sometimes conflict or cause issues. Always backup first.
How to Backup:
- Use hosting backup feature
- Or install backup plugin (UpdraftPlus, BackWPup)
- Or use manual FTP + database backup
Minimum Backup:
- Database export (phpMyAdmin)
- wp-content folder (themes, plugins, uploads)
Check Plugin Compatibility
Verify:
- WordPress version compatibility
- PHP version requirements
- Conflicts with existing plugins
- Active installations and reviews
- Last update date (recently updated = maintained)
Red Flags:
- Not updated in 2+ years
- Low ratings (under 3.5 stars)
- Many unresolved support tickets
- No compatibility info
- Very few active installations (except brand new)
Understand What Plugin Does
Research Before Installing:
- Read description thoroughly
- Check screenshots
- Review changelog
- Read user reviews
- Search for known issues
Don’t install:
- Plugins you don’t need
- Duplicate functionality plugins
- Poorly rated plugins
- Abandoned plugins
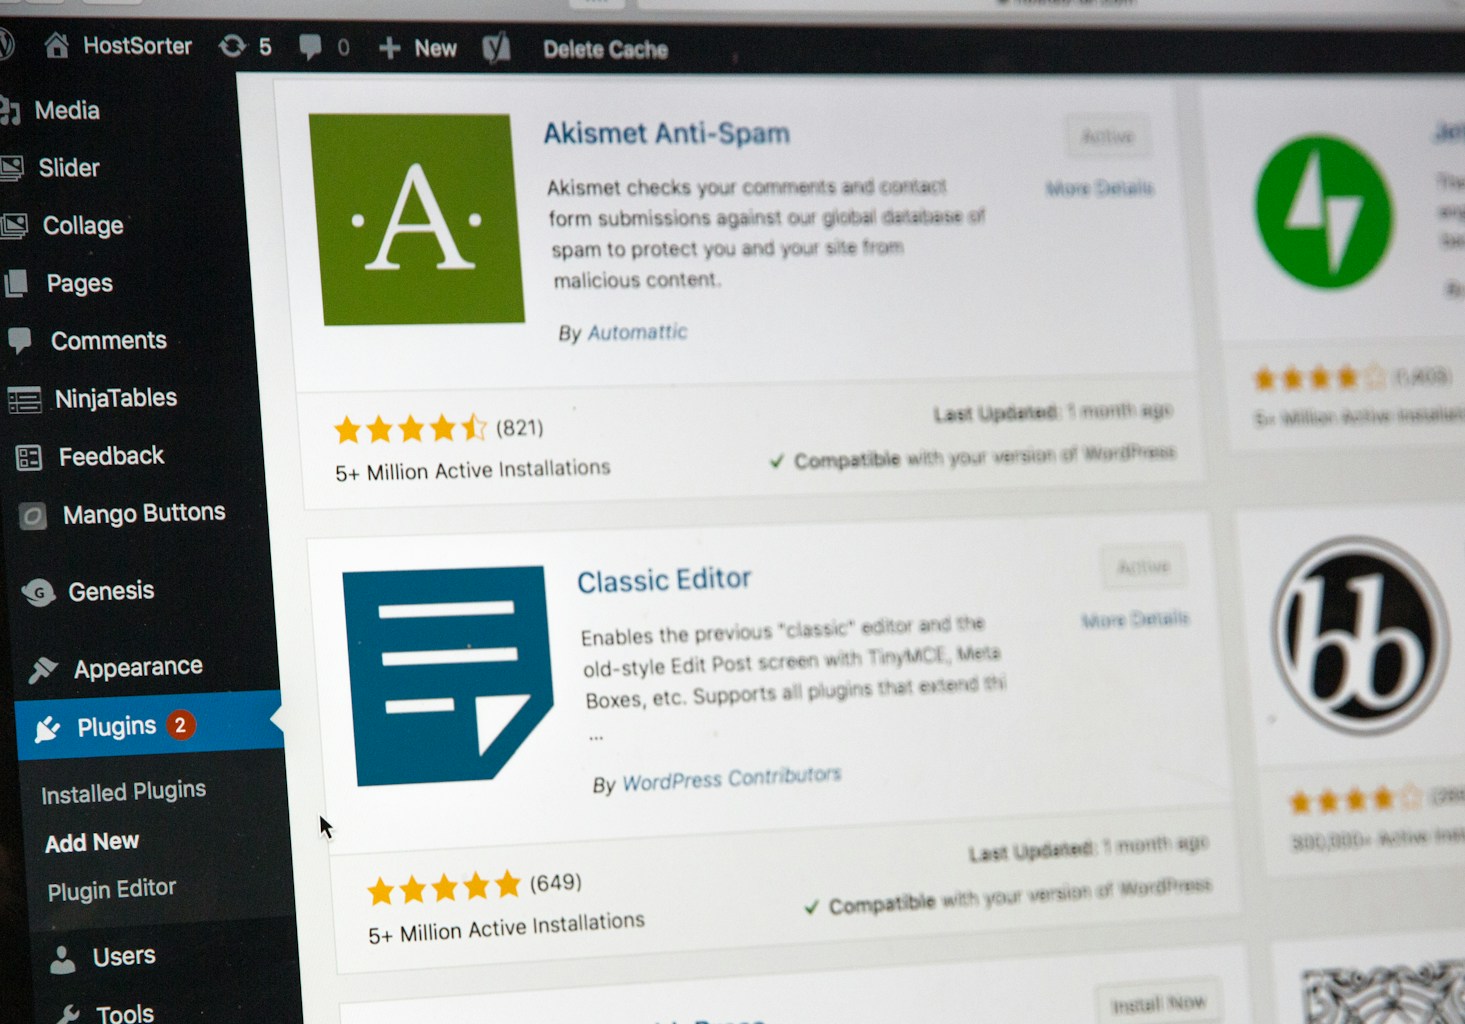
Method 1: Install from WordPress Dashboard
The easiest method for free plugins from WordPress.org directory.
Step 1: Access Plugins Page
- Log in to WordPress admin
- Navigate to Plugins > Add New
- You’ll see the Add Plugins page
Step 2: Search for Plugin
Option A: Search by Name
- Enter plugin name in search box
- Press Enter
- Results appear instantly
Example: Search “contact form 7”
Option B: Browse Featured/Popular
- Featured: Hand-picked by WordPress
- Popular: Most active installations
- Recommended: Personalized suggestions
- Favorites: Your marked favorites
Step 3: Evaluate the Plugin
Before installing, check:
Key Indicators:
- Active installations (higher = more trusted)
- Star rating (aim for 4+ stars)
- Last updated (within 6 months is good)
- Compatibility with your WordPress version
- Reviews and support forum activity
Click “More Details” to see:
- Full description
- Installation instructions
- Changelog
- Screenshots
- Reviews tab
- Support forum
Step 4: Install the Plugin
- Click Install Now button
- Button changes to “Installing…”
- WordPress downloads and installs plugin
- Takes 5-30 seconds depending on size
- Button changes to “Activate”
What Happens:
- Plugin downloaded from WordPress.org
- Extracted to
/wp-content/plugins/directory - Ready to activate
Step 5: Activate the Plugin
- Click Activate button
- Page refreshes
- You’ll see “Plugin activated” message
- Plugin appears in Plugins > Installed Plugins list
Active plugins:
- Have blue “Deactivate” link
- Are working on your site
- May add menu items to admin sidebar
Step 6: Configure Plugin Settings
Most plugins need configuration:
Look for:
- New menu item in sidebar
- Settings under Settings menu
- Settings under Tools menu
- Dashboard widget
- Notice with setup link
Common locations:
- Settings > Plugin Name
- Tools > Plugin Name
- Standalone menu (e.g., “Contact” for Contact Form 7)
Method 2: Upload Plugin ZIP File
For premium plugins or plugins not in WordPress directory.
When to Use This Method
Use upload method for:
- Premium plugins (WooCommerce, Nexus Pro, etc.)
- Beta versions
- Custom plugins
- Plugins from third-party marketplaces
- Developer-provided plugins
Step 1: Download Plugin ZIP
- Purchase or download plugin
- Save
.zipfile to your computer - Do not unzip the file
- Note the file location
Example: nexus-pro-1.1.0.zip
Step 2: Access Upload Screen
- Go to Plugins > Add New
- Click Upload Plugin button at top
- Upload interface appears
Step 3: Select Plugin File
- Click Choose File button
- Browse to your
.zipfile - Select the file
- Click Open
- File name appears next to button
Step 4: Install Plugin
- Click Install Now button
- WordPress uploads and installs
- Progress bar shows upload status
- Installation completes
- “Plugin installed successfully” message appears
If upload fails:
- File might be too large (check PHP upload limit)
- Wrong file type (must be
.zip) - Corrupted download (re-download)
- Server permission issues
Step 5: Activate Plugin
- Click Activate Plugin link
- Or go to Plugins > Installed Plugins
- Find plugin in list
- Click Activate
Step 6: Enter License Key (If Required)
Premium plugins often require activation:
- Find license key from purchase email
- Navigate to plugin settings
- Look for “License” or “Activation” tab
- Paste license key
- Click Activate License
- Wait for confirmation
With Nexus Pro:
- Go to Settings > Nexus Pro > License
- Enter license key
- Click Activate License
- Green confirmation appears
- Pro features unlocked
Method 3: Install via FTP
For advanced users or when dashboard methods fail.
When to Use FTP Method
Use FTP when:
- Dashboard is inaccessible
- Upload size limits prevent Method 2
- Server issues prevent normal installation
- Bulk installing multiple plugins
- Debugging plugin conflicts
What You Need
Required:
- FTP client (FileZilla, free)
- FTP credentials from hosting provider
- Plugin files (unzipped)
FTP Credentials Include:
- Host/Server address
- Username
- Password
- Port (usually 21 for FTP, 22 for SFTP)
Step 1: Extract Plugin Files
- Download plugin
.zipfile - Right-click > Extract/Unzip
- Creates folder with plugin files
- Note folder name
Example:
- Downloaded:
nexus-pro.zip - Extracted folder:
nexus-pro/
Step 2: Connect via FTP
- Open FileZilla (or FTP client)
- Enter FTP credentials:
- Host:
ftp.yoursite.com - Username: Your FTP username
- Password: Your FTP password
- Port: 21 (or as provided)
- Host:
- Click Quick connect
- Connected when you see file list
Step 3: Navigate to Plugins Directory
In remote site panel (right side):
- Open
public_htmlorwwwfolder - Open
wp-contentfolder - Open
pluginsfolder - This is where plugins live
Path: /public_html/wp-content/plugins/
Step 4: Upload Plugin Folder
In local site panel (left side):
- Navigate to extracted plugin folder
- Select the plugin folder
- Right-click > Upload
- Or drag folder to right panel
- Upload begins
Wait for:
- All files to upload (progress bar)
- Green checkmarks
- No failed transfers (red X)
Step 5: Set Permissions (If Needed)
Usually automatic, but if plugin doesn’t work:
- Right-click plugin folder
- Choose File permissions
- Set to
755for folders - Set to
644for files - Click OK
Step 6: Activate via Dashboard
- Go to WordPress admin
- Navigate to Plugins
- Find newly uploaded plugin
- Click Activate
Plugin should appear in the list immediately after upload completes.
Common Installation Issues and Fixes
Troubleshoot problems you might encounter.
Issue: “Destination Folder Already Exists”
Cause: Plugin already installed (maybe deactivated)
Solution:
- Go to Plugins > Installed Plugins
- Look for existing plugin
- Delete it first if you want to reinstall
- Or skip installation if already present
Issue: Upload Size Limit Exceeded
Cause: PHP upload_max_filesize limit too low
Solution A: Increase PHP Limit Add to wp-config.php:
@ini_set('upload_max_size', '64M');
@ini_set('post_max_size', '64M');
Solution B: Use FTP Method Upload via FTP instead (Method 3)
Solution C: Contact Hosting Ask them to increase upload limit
Issue: Plugin Causes White Screen
Cause: Plugin conflict or compatibility issue
Solution:
- Access site via FTP
- Navigate to
/wp-content/plugins/ - Rename problem plugin folder (add
-disabled) - Site should work again
- Contact plugin support
Issue: Plugin Not Appearing After Activation
Cause: Cache, or plugin has no admin interface
Solution:
- Clear browser cache
- Hard refresh (Ctrl+F5)
- Check if plugin adds menu items
- Some plugins work silently (no UI)
- Check plugin documentation
Issue: 500 Internal Server Error
Cause: PHP error in plugin code
Solution:
- Disable plugin via FTP (rename folder)
- Enable WordPress debugging
- Check error logs
- Contact plugin support with error details
Issue: Plugin Missing Dependencies
Error: “Plugin requires XYZ to function”
Solution:
- Install required plugin first
- Then install dependent plugin
- Activate in correct order
- Check plugin documentation
Plugin Management Best Practices
Follow these guidelines for optimal plugin management.
Regular Updates
Why Update:
- Security patches
- Bug fixes
- New features
- WordPress compatibility
- Performance improvements
How to Update:
- Go to Dashboard > Updates
- Select plugins to update
- Click Update Plugins
- Or enable auto-updates (WordPress 5.5+)
Before Major Updates:
- Backup your site
- Test on staging site if available
- Read changelog for breaking changes
Keep Plugins Minimal
Quality Over Quantity:
- Only install needed plugins
- Delete unused plugins
- Combine functionality when possible
- Choose multi-feature plugins over single-purpose
Performance Impact:
- Each plugin adds code
- More plugins = slower site (usually)
- 20-30 plugins is reasonable
- 50+ plugins likely has issues
Regular Audits
Quarterly Plugin Audit:
- List all installed plugins
- Identify unused plugins
- Check for updates
- Verify all are still needed
- Delete unused plugins
- Look for better alternatives
Questions to Ask:
- When did I last use this?
- Is there a better option now?
- Does another plugin duplicate this?
- Is it actively maintained?
Security Considerations
Plugin Security Checklist:
- Only download from trusted sources
- Check plugin reputation
- Read reviews for security concerns
- Keep plugins updated
- Delete unused plugins (don’t just deactivate)
- Use security plugins (Wordfence, Sucuri)
Avoid:
- Nulled/pirated premium plugins
- Plugins from sketchy websites
- Plugins with known vulnerabilities
- Outdated, abandoned plugins
Recommended Plugin Categories
Essential plugins every WordPress site should consider.
SEO Plugins
Nexus Pro (Recommended):
- 7 schema types
- AI-ready features
- Performance optimizations
- No conflicts with Nexus theme
Alternatives:
- Yoast SEO (free)
- Rank Math (free/premium)
- All in One SEO (free/premium)
Security Plugins
Recommended:
- Wordfence Security (free/premium)
- Sucuri Security (free/premium)
- iThemes Security (free/premium)
Features:
- Firewall protection
- Malware scanning
- Login security
- Activity logs
Backup Plugins
Recommended:
- UpdraftPlus (free/premium)
- BackWPup (free/premium)
- Duplicator (free/premium)
Why Important:
- Regular automated backups
- Easy restore process
- Remote storage options
- Peace of mind
Performance Plugins
Caching:
- WP Rocket (premium, best)
- WP Super Cache (free)
- W3 Total Cache (free)
Image Optimization:
- ShortPixel (free tier)
- Smush (free/premium)
- Imagify (free tier)
Form Plugins
Recommended:
- Contact Form 7 (free, simple)
- WPForms (free/premium, visual builder)
- Gravity Forms (premium, advanced)
Don’t Install Unless Needed
Usually Unnecessary:
- Related posts (use Jetpack or theme feature)
- Social sharing (use theme feature)
- Google Analytics (use header injection)
- Font plugins (use theme typography)
Nexus Pro Plugin Installation
Specific steps for installing Nexus Pro.
Prerequisites
Before Installing:
- Nexus theme installed and active
- WordPress 6.4 or higher
- PHP 8.0 or higher
- Purchase license from DevelopryThemes.com
Installation Steps
Method 1: Via Dashboard (Recommended)
- Download
nexus-pro.zipfrom purchase email - Go to Plugins > Add New
- Click Upload Plugin
- Choose
nexus-pro.zipfile - Click Install Now
- Click Activate Plugin
Method 2: Via FTP
- Extract
nexus-pro.zip - Upload
nexus-profolder via FTP - Upload to
/wp-content/plugins/ - Go to Plugins in WordPress
- Click Activate under Nexus Pro
License Activation
Required for all features:
- Go to Settings > Nexus Pro
- Click License tab
- Enter license key from purchase email
- Click Activate License
- Wait for green “License activated” message
- Pro features now available
License Types:
- Single site
- 5 sites
- Unlimited sites
Each license type can only activate on allowed number of sites.
Verifying Installation
Check Installation Success:
- New Menu Items:
- Settings > Nexus Pro appears
- Editor Panels:
- Open any post in block editor
- Check sidebar for panels:
- Schema Settings
- Advanced Schema
- FAQ Schema
- AI Summary & SEO
- Readability
- New Blocks:
- Click + to add block
- Search “Nexus”
- Should see: Table of Contents, TL;DR, Citation
- Customizer Options:
- Go to Appearance > Customize
- New sections appear:
- SEO & Schema
- Social Media
- Performance Optimization
If all present, installation successful!
Conclusion
Installing WordPress plugins is straightforward once you know the three methods. Most of the time, you’ll use the dashboard search method for free plugins and the upload method for premium plugins like Nexus Pro.
Key Takeaways:
- Always backup before installing plugins
- Check compatibility and reviews first
- Use dashboard method for WordPress.org plugins
- Use upload method for premium plugins
- Use FTP method when others fail
- Activate and configure after installation
- Keep plugins updated and minimal
- Delete unused plugins for security
Remember:
- Quality over quantity
- Only install what you need
- Keep plugins updated
- Regular audits prevent bloat
- Security matters—trust your sources
Start with essential plugins (SEO, security, backup, performance), then add specialized plugins as needs arise. With Nexus Pro installed and activated, you have comprehensive SEO and schema features without needing multiple plugins.
Related Articles:
- WordPress Block Editor Tutorial: Master Gutenberg
- WordPress Customizer Guide: Customize Without Coding
- Complete WordPress SEO Checklist: 25 Tips
- How to Add Schema Markup to WordPress in 5 Steps